Sunday, April 29, 2012

What is Your Palette?

Seems every place you turn these days you find yourself being asked, what is your palette? What colors do you wear, what colors do you choose in decorating your home or planting a garden? Then the next question...what is your inspiration for each palette? This past week, the seaglass finds were quite plentiful and as usual, I tossed them on my kitchen counter and quite coincidentally, on an open page from House Beautiful.


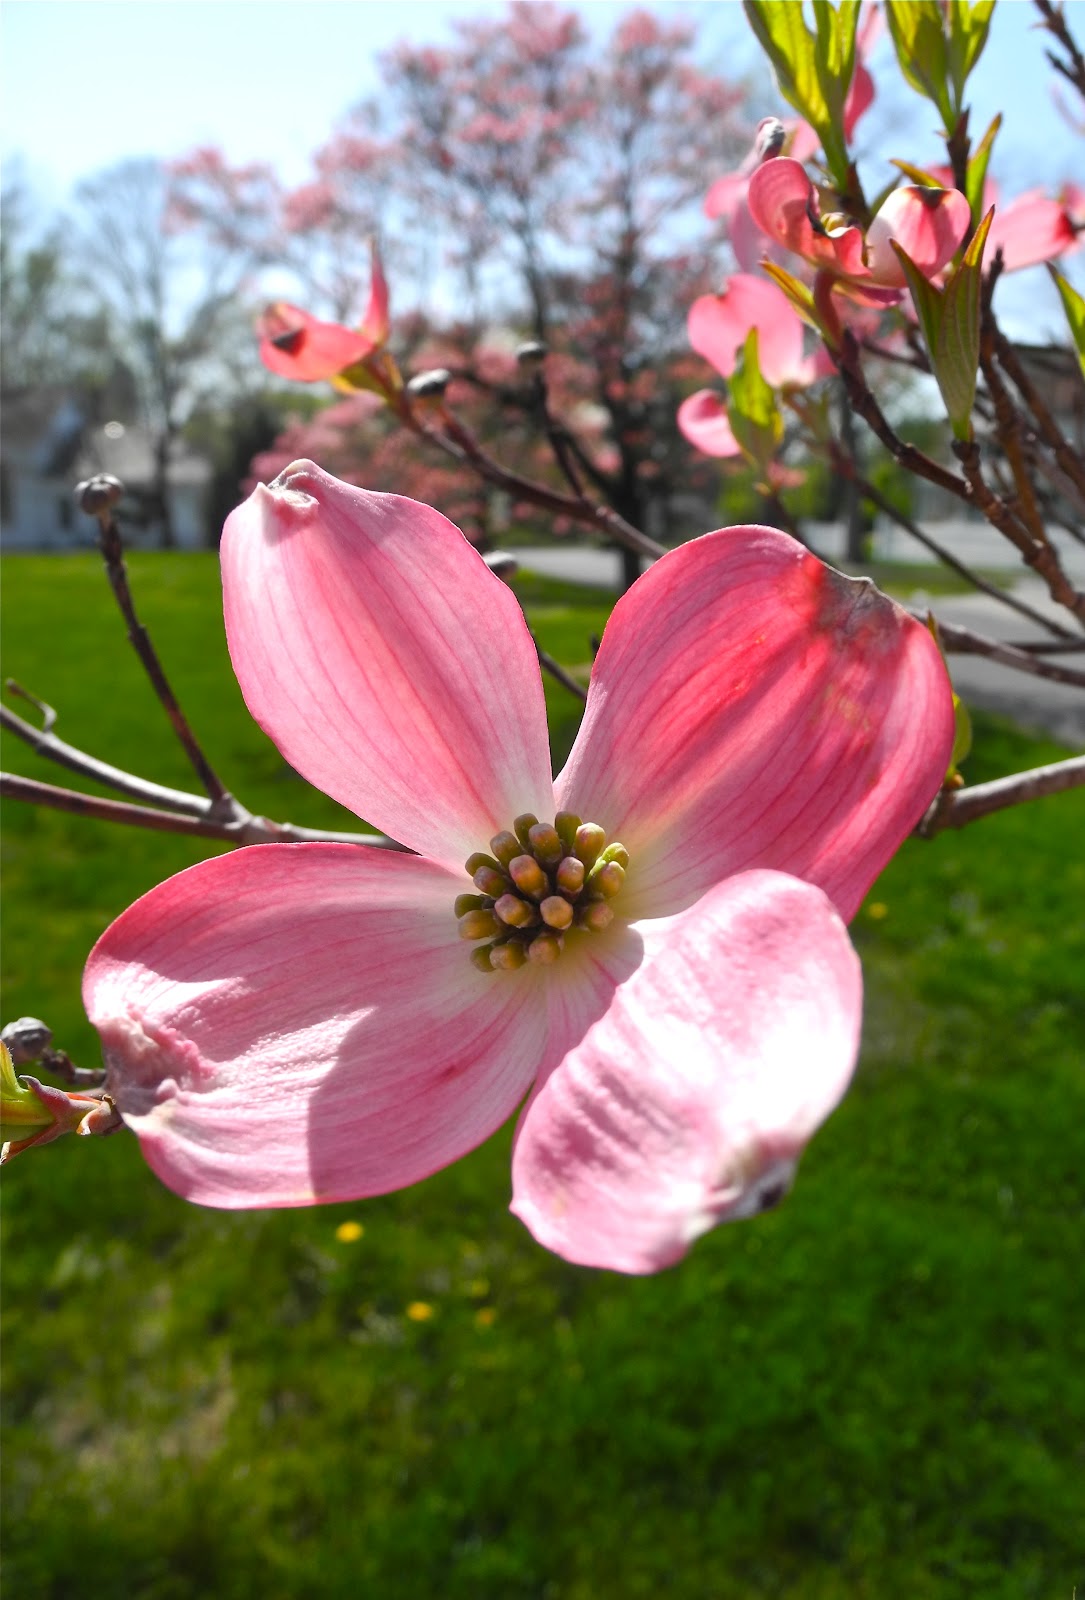
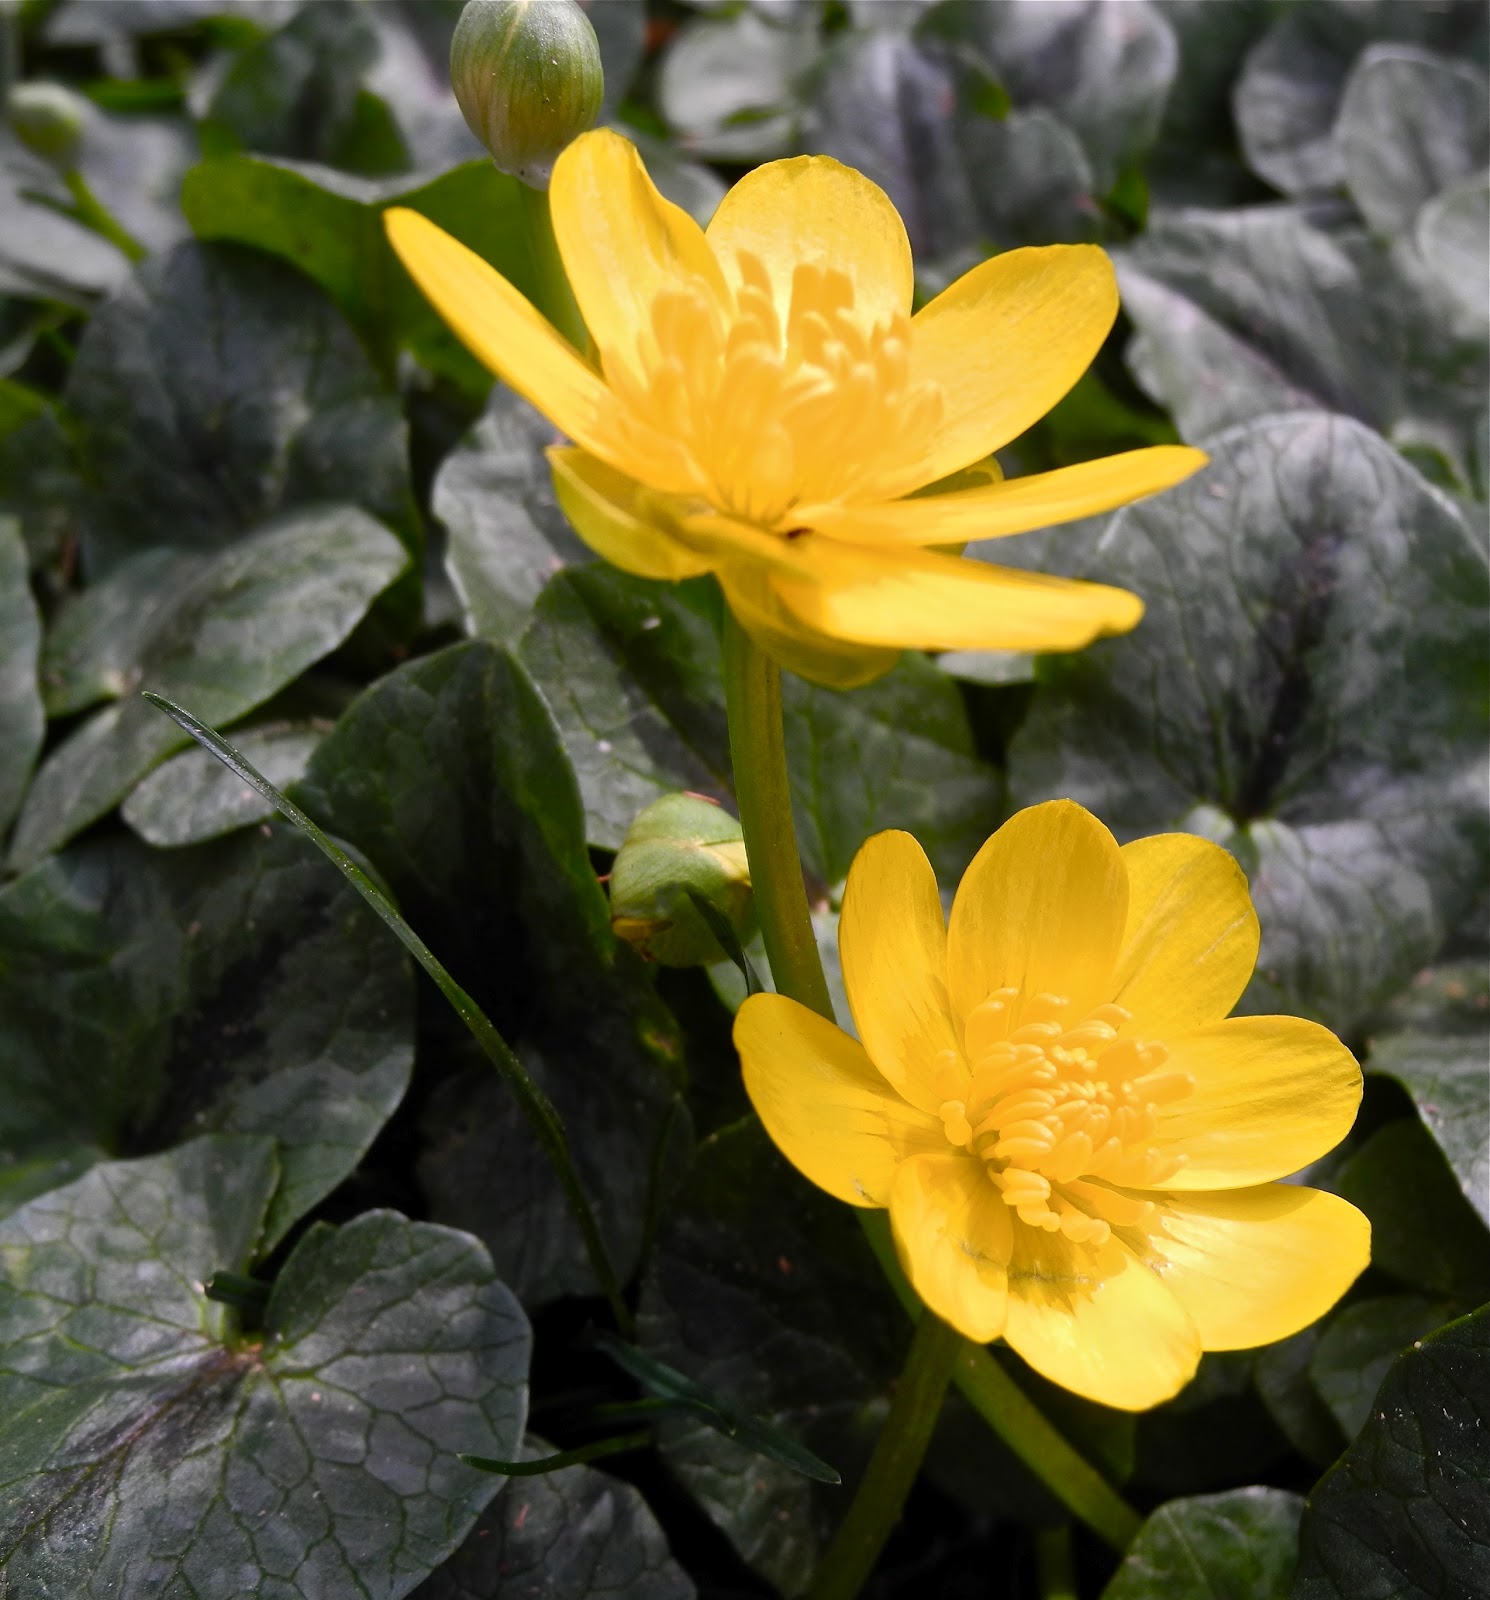
There was my palette! Many of the colors seemed very similar to my home decor choices....hmmm, I wonder why! Considering how much time I spend walking the shore, it is logical that those colors from nature would be of interest to me. But how to "extract" a true sampling?


Enter the web site pictured here!  I could upload any image from my endless supply in iphoto and this site will generate a palette for me! I was hooked. One after the other photo was uploaded as I sampled this new toy! Then, I can save the custom palette as Photoshop swatches as an .aco file a.k.a. Adobe Color file.

   
For example, here is the kitchen table with its bright and colorful color scheme....


And voila! A full range of colors pulled from the image is now mine to use. Not sure what rocks your boat, makes you smile or gets you a little excited but I find this to be just crazy fun.


Next, I wanted to translate these web colors into a Pantone Swatch so I could use that color in a paint store or most importantly in a garden. Photoshop allows you to replace the preset swatches with that aco. file saved from the Color Palette Generator. Then you select one color, double click to chose which "library" you want to use....and there is my Pantone number.  Got it?  

That's OK....it may not be fun for some but now as I roam my home and garden looking for more color palettes I am sure I will find a few more to show you. So now the question,  
what is your palette and where do you find your inspiration?


Sunday, April 22, 2012

Connecticut Cornus florida

Growing up in Fairfield Connecticut a.k.a. The Dogwood Capital of the World was a wonderful time of my life. There were years when I can remember the twisting roads were canopied in a tunnel of the pink & white blossoms and Springtime meant the anticipated Dogwood Bazaar was near. Long bicycle rides to and from the beach meant finding back roads to avoid the very steep Burr Street and thus I found my dogwoods.


Many of the older trees are gone now but the newly planted ones are making great progress towards keeping the moniker "capital of the world" intact! The Flowering Dogwood known as Cornus florida has had some rough years as disease has taken its toll. You can see here the young and the old!


An early blossom photo taken in my present neighborhood is slightly behind the blossoms of Fairfield.  You can see the "petals" unfolding from around the "flowers". The large white, pink or red "petals" are actually called bracts...and the flowers which produce seeds come Fall are mounded in the middle within a tight cluster.


This is the cluster of dogwood "flowers" fully open. To me, it is flower within a flower. (photo thanks to wikipedia) Like a play within a play or a self portrait within a self portrait...you get the picture?


Now that we understand this beauty (not that it needed to be understood) I can just share a few of my photos in honor of Earth Day!


Happy Earth Day! I hope everyone got out there, rain or shine and celebrated something to do with Our Earth.

Sunday, April 15, 2012

Wedding BBQ

Putting on a little party always involves some creativity!!!! I had just the occasion this weekend being the host of a very special wedding "Jack & Jill" (as we older folks call them) for my son and his fiance. Invites went out a while ago....and the paper bag handmade envelope blog entry never happened because I ran out of time and resorted to store bought. :(


The invite was created using some photoshop/illustrator magic and then laminated to be used as coasters if anyone so wished or ever realized the intent! :)


Gifts were wrapped as minimally as possible to stay "green" using rolls of butcher paper (used for art projects all year) and dollar store wrappings, then bound with twine from home depot. One roll goes a very, very long way! My daughter was the creative force behind the button jar decorations. Now I know why I have a button jar other than for nostalgia!


I have a tradition to make a quick but custom paper doll chain for gift tags. I have making these for many years for weddings and baby showers and have actually seen some posted on refrigerators or framed long after the event.


 Congratulations to John & Kate again! We had a fantastic time planning and grilling and wrapping and hanging out! Can't wait until the wedding and I promise to not post photos unless I get permission....because there were a few good ones! :)

Wednesday, April 11, 2012

Welcoming Some Spring Flowers

This time of year I welcome almost any bit of color in the yard so I want to show off some of the first blooms but I also want to end with a HELP!!!!! If you have my pretty but invasive friend, please send any advise, asap.


Of course the sedums are welcome, even if I find a few extra popping up here and there!


 And the planted pansies with their precious little pixie faces make every day a little brighter!


A neighbor's vinca and my own grape hyacinths welcome us at our front doors....


while the annual "honesty" plant or "silver dollar" plant makes an appearance wherever it has reseeded
 and the lowly dandelion is even welcome right now!


The beautiful blossoms of my brand new Red Bud tree are exquisite.


But the joy of seeing all these wonderful signs of spring is masked by terror resulting from a VERY invasive species laying claim to my back yard.


Meet the Fig Buttercup. I am taking deep breaths as I write. Although I have been battling this baby for a couple of years, I never dreamed it would completely overwhelm a corner of yard. I fought hard and have almost conquered in one garden section while I ignored the incoming tide of destruction in another section! 

It seems every plant you dig up leaves behind abundant tubers and bulblets, each of which can grow into a new plant once separated from the parent plant. YIKES!!!! This means war, and I must start now. If you have any way other than digging, bagging and sifting through the dirt, please let me know. Til then, I will be in the yard doing my best to be the victor.

Sunday, April 8, 2012

EasTER-RARIUM (easter terrarium)

Happy Easter! New beginnings, rebirth and renewal. Whatever you follow, this is the time of the year to rejoice and dig into the earth, plant, clean and start afresh. Planting a little semi-biosphere terrarium seemed quite appropriate for the day! 


It all started with another Habitat for Humanities Re-store find! The glass container was just calling to me. The rest was research, buying supplies and wishing for smaller plants. Where to buy? I didn't really find a good source so one Home Depot plant, one Petco plant and one from my yard. The yard plant is forbidden in many terrarium posts so I am keeping my fingers crossed it does not kill the whole project!


The gravel layer, the phagnum moss layer, the soil layer and then the planting....done by the book and all essential for the "sphere" to thrive. I want to give credit to this site for great step by step instructions and details for terrarium set up and design! For me, the project is a learning experience, a photo opportunity and I end up with a beautiful reminder of the late 70's when I made these in college!


I added a few seaside elements like a moonsnail and beach stones. The dust hasn't settled and the moisture control is TBD. 


The terrarium has found a place for now, bringing the outside to the inside here in my dining room. I think that is exactly the point. Try to bring nature into your office, your home but contained and with a personality!

Thursday, April 5, 2012

Fixin' Fences

Today I was awoken by an early morning phone call. Usually not a fun thing to hear! But to my surprise, a backyard fence that we scheduled for next week, was suddenly going in today. Great! When the guys arrived, I remembered one item that I had not cleaned up in preparation...my old twig & branch gate.


The gate was originally built for neighborhood children to pass through the backyards. It hadn't been used for years and was slightly broken, misunderstood and left to be swallowed up by bittersweet vines. With the new fence going in, my old twig fence was not needed!


I took my dear old fence and laid it down to inspect the condition, could it be saved? I felt a short time in my backyard hospital was all that it needed.


Some old, dead privet hedge branches matched the aged look, and then I took some naturally colored twine to bandage the broken and missing pieces to the body. I know, I am really not a doctor but I felt like I was practicing some medicine today!


While I worked my magic on the twig fence, the backyard was being readied for the new professional cedar fence.


Here you see the now healthy twig & branch fence! I added many bittersweet vines to support the joints and give the fence that aged to perfection look. Sort of like what I need right now...love my age but wish I could move a bit faster, look a bit younger yet keep the graying hair?


Of course, I couldn't resist. Shadows and twig construction just looked like beauties in the buff. Such organic shapes and structures revealed give new meaning to my old fence. No more "old & in the way" for this backyard friend.

Sunday, April 1, 2012

Trying "Tufa" at last!

Not sure if the phrase what is "hypertufa" is a Jeopardy question waiting its time (possibly has surfaced already?) but I just couldn't wait any longer to try my hand at making these faux stone pots for my own garden. I knew there was a recipe and I Googled it extensively. One site I found was easy to understand and had some nice photos, I give them complete credit for my project! You can find it here.


Recipe: equal parts Peat Moss, Pearlite, and Portland Cement. Mix the first two by hand and then wearing mask, add the cement. The only size bag of this exact type of cement (and please refer to the other web site!!) only comes in 94 pounds!!!! Yikes, had to ask for Home Depot help there. I would experiment with a small amount first and small containers to get the hang of it. :)


Spray your plastic containers with some sort of release agent...we had this can of Pam to use. Plastic forms from your kitchen or from the dollar store worked quite well! Spray both inside and outside forms. (again, see the link to a better explanation)


Well, let me tell you what the other site doesn't say now...it was hard! Finding forms and trying to compress the cement mixture into the spaces meant for "walls" was not an easy task! I realized this was a first attempt. Plus considering the bag of Portland Cement was 94 lbs, I figure I will be making these for another week or so!


Steps 2 & 3....cover with plastic, 24 hours, remove inner mold, recover. Wow, this is labor intensive!


 Day 3 the forms are removed and the hypertufa pots finally seem like a reality!  They will be buffed up a bit and will become a lighter, more rock-like color as they dry. Back into the plastic bags again for few weeks!!!!


 Just for fun, I placed a weed I dug up into one of the forms....it will become one with the rock step in color as soon as it completely dries!  I can already tell I will make more of these. I have to! 94 pounds of cement and counting down. Anyone want to try their hand at a hypertufa pot in the next week call me!!!!